
Showing posts with label craft. Show all posts
Showing posts with label craft. Show all posts
Sunday, November 27, 2011
The Golden Snitch
5 messed up ornaments later, this one isn't so bad:

Here's a picture of the original as a comparison:

My wings are a different shape and I used glitter paint instead of glitter. I also forgot to buy gold paint to cover the glue spots. All easily mended as I want to try one with glitter.
I also used a Sharpie paint pen to draw on the design. The worked well for me because I'm no artist so I can't paint freehand. I think, however, the next one I make I'll paint over my paint pen markings as I like how the gold paint is darker than the ball, which gives more definition -- like the actual Golden Snitch.
This craft definitely takes time. There are lots of steps & they all need dry time in between. It's a great project to work on while you're doing other things. However, when it's time to glue on the wings, stop what you're doing & give yourself lots of time. You need to hold the wing in place for a while (I held mine at least 10 minutes) before the glue really starts to dry & you can leave it to cure.
Don't let any of this stop you from trying this craft. It's really a lot of fun and the end result is terrific. In a day or so you can have your own Golden Snitch on your Christmas Tree! It would also be a fab gift for the Harry Potter fan in your family. Just be sure to package it very carefully, as it is very fragile.
Let the Christmas crafting begin!


Friday, July 22, 2011
Flower Power!
For her birthday this year, I made her a flower wreath for her door:
 |
| Here's the finished wreath hanging on my front door. |
To make the wreath, you will need:
- a lot of crocheted flowers (I have 16)
- a lot more leaves (I have no idea how many I have. I made tons!)
- a styrofoam wreath form (this one is 14 inches)
- green ribbon (for wrapping the wreath form)
- glue
- straight pins (optional)

I found this great styrofoam wreath form at Michael's. They had cheaper ones but only in 12 inches & 16 inches. I found a slightly more expensive one, in green, in 14 inches. Which was just right. It helps that I had a coupon for 40% off any styrofoam product. Nice!
Wrap the wreath with the green ribbon. What I do is put a bit of glue on the back of the wreath & pin the edge. This keeps it nice & secure and if you use standard straight pins (not the ones with the balls on the end) you won't ever see them.
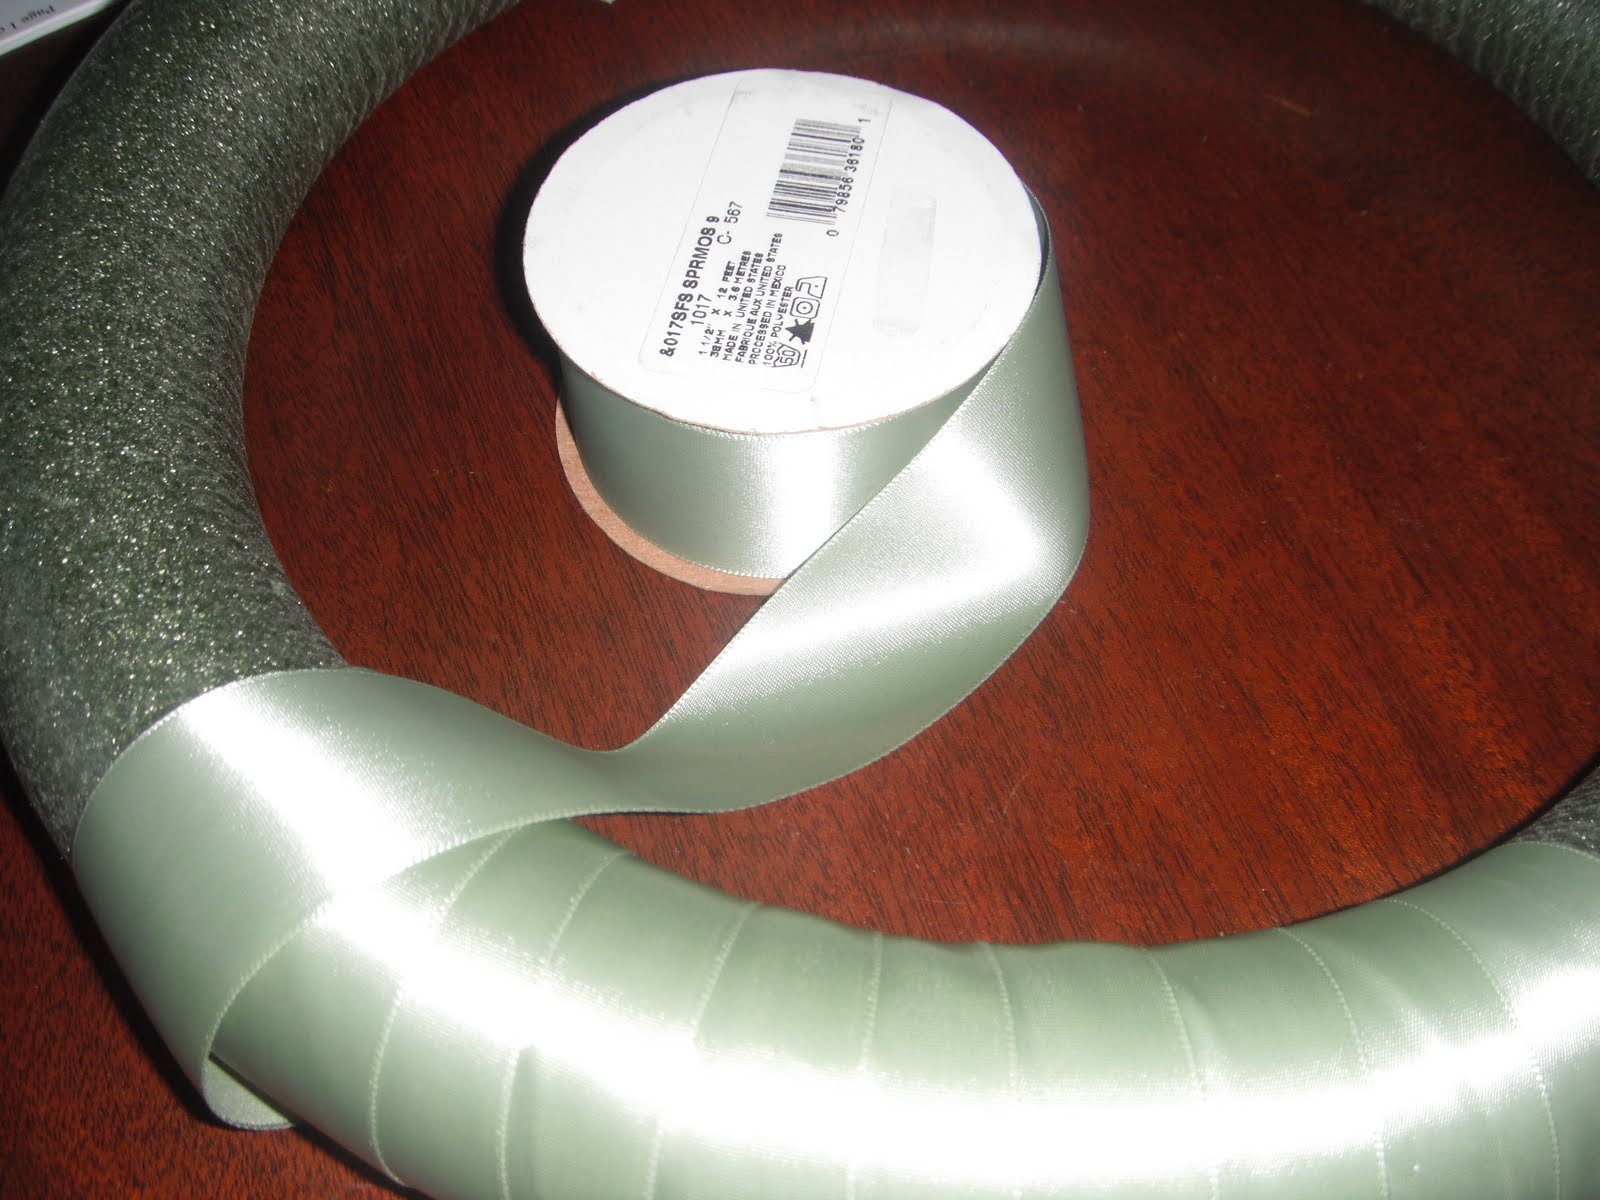 |

The finished form will look like this:

If you're going to add a wire hanger, this would be a good time to add it -- before you start gluing on the flowers. I used a bit of ribbon to create a hanger, which works just as well.
Now use hot glue to attach the flowers and leaves in any way that is pleasing to you.

I like to secure the items with a pin as well. If you push it all the way in and hide it a bit you'll never see it and the flowers won't ever fall off.
Continue adding flowers & leaves until your wreath is completely covered & you're satisfied. Be sure to put some leaves and flowers on the inside & outside edges of the form. Also add leaves under the flowers as well. If you have different leaves -- either in different color or sizes, be sure to mix them up with the flowers. Mixing the leaves helps the overall look to be more natural. You can also add different types of leaves as well.
Step back every once in a while to check for empty spaces and to make sure you are happy with the way the wreath is coming together. I like to hang mine from kitchen cabinet while I'm working on the wreath so I can see how it's coming together.
There's no right or wrong way to do this. The interwebs are full of free patterns for all kinds of flowers & leaves. Find something you like and make a few. I promise you, you'll be pleased with the results.
Oh, and Happy Birthday dear Auntie! Hope you like your present!!
Subscribe to:
Posts (Atom)