
Friday, July 22, 2011
Flower Power!
For her birthday this year, I made her a flower wreath for her door:
 |
| Here's the finished wreath hanging on my front door. |
To make the wreath, you will need:
- a lot of crocheted flowers (I have 16)
- a lot more leaves (I have no idea how many I have. I made tons!)
- a styrofoam wreath form (this one is 14 inches)
- green ribbon (for wrapping the wreath form)
- glue
- straight pins (optional)

I found this great styrofoam wreath form at Michael's. They had cheaper ones but only in 12 inches & 16 inches. I found a slightly more expensive one, in green, in 14 inches. Which was just right. It helps that I had a coupon for 40% off any styrofoam product. Nice!
Wrap the wreath with the green ribbon. What I do is put a bit of glue on the back of the wreath & pin the edge. This keeps it nice & secure and if you use standard straight pins (not the ones with the balls on the end) you won't ever see them.
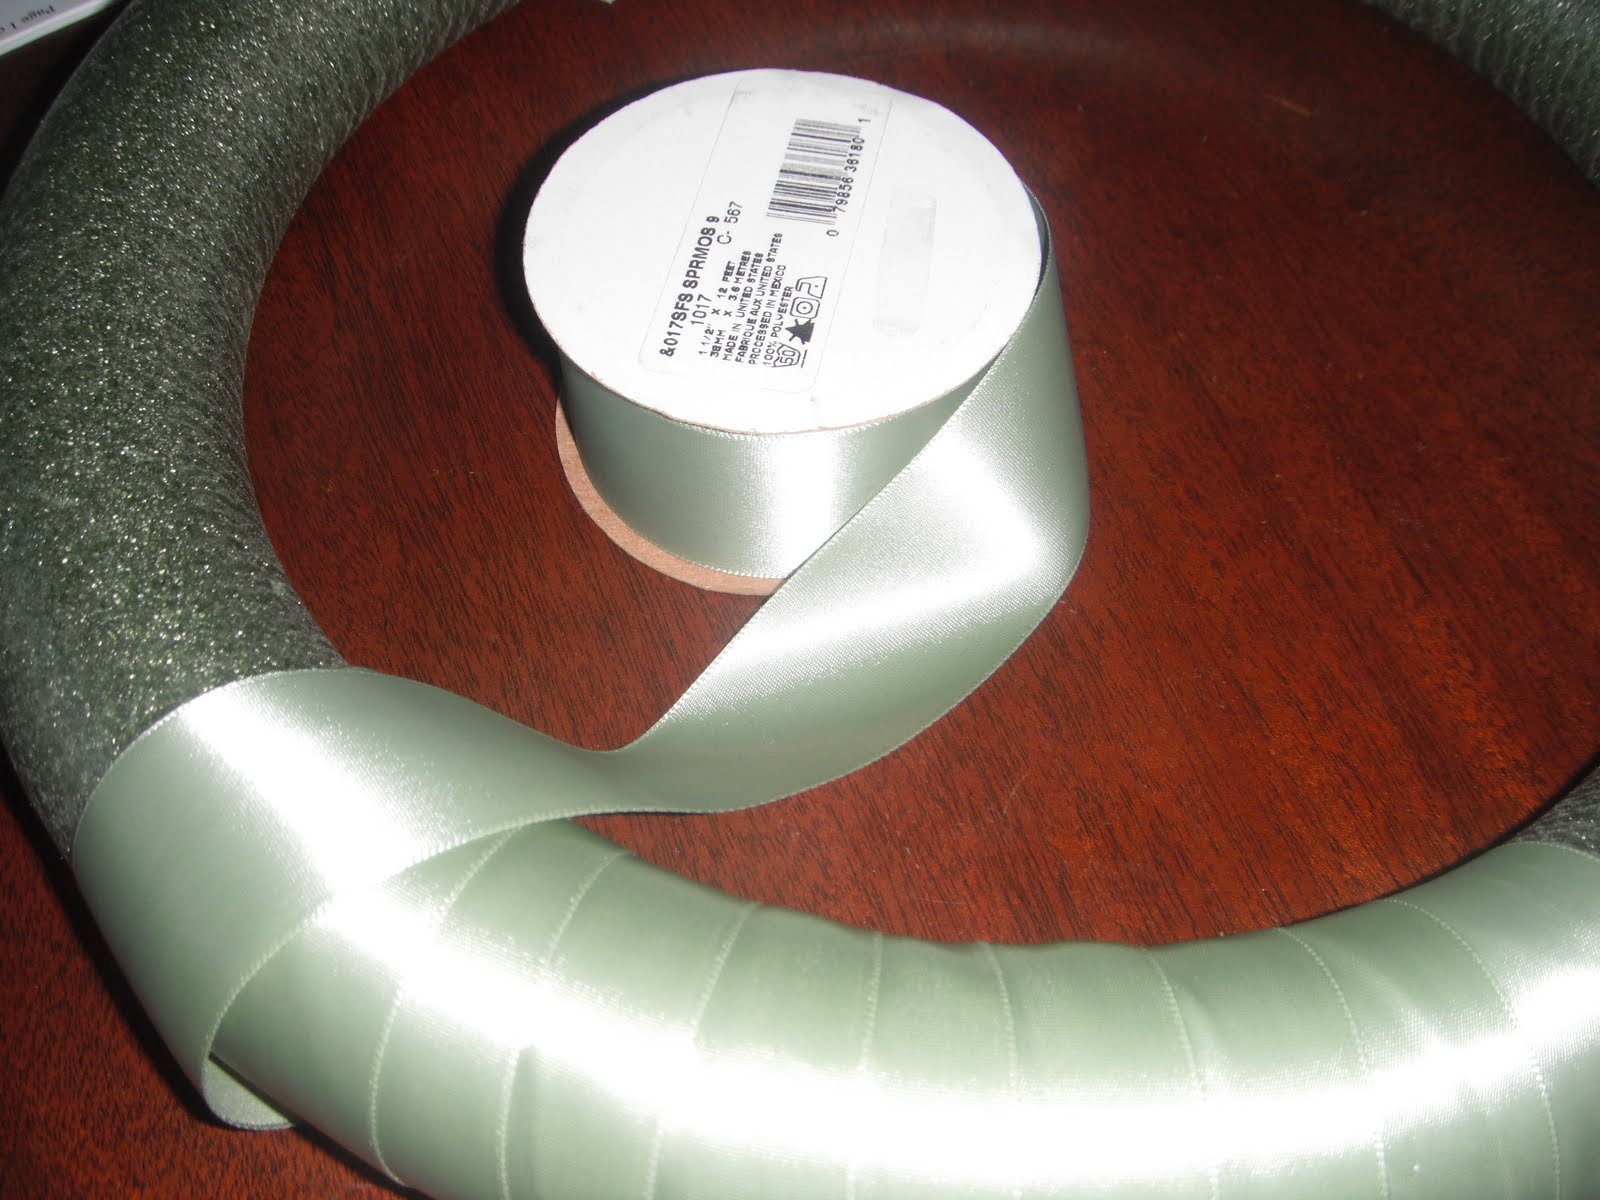 |

The finished form will look like this:

If you're going to add a wire hanger, this would be a good time to add it -- before you start gluing on the flowers. I used a bit of ribbon to create a hanger, which works just as well.
Now use hot glue to attach the flowers and leaves in any way that is pleasing to you.

I like to secure the items with a pin as well. If you push it all the way in and hide it a bit you'll never see it and the flowers won't ever fall off.
Continue adding flowers & leaves until your wreath is completely covered & you're satisfied. Be sure to put some leaves and flowers on the inside & outside edges of the form. Also add leaves under the flowers as well. If you have different leaves -- either in different color or sizes, be sure to mix them up with the flowers. Mixing the leaves helps the overall look to be more natural. You can also add different types of leaves as well.
Step back every once in a while to check for empty spaces and to make sure you are happy with the way the wreath is coming together. I like to hang mine from kitchen cabinet while I'm working on the wreath so I can see how it's coming together.
There's no right or wrong way to do this. The interwebs are full of free patterns for all kinds of flowers & leaves. Find something you like and make a few. I promise you, you'll be pleased with the results.
Oh, and Happy Birthday dear Auntie! Hope you like your present!!
Sunday, July 17, 2011
You Dropped a Bob-omb on Me
 |
| Mario Lemieux was a fantastic player, but I'm a Flyers fan. |
 |
| Okay, who remembers Mario Lanza? I can't be the only person who loves old movies. |

Ever since my (then) young cousins showed me where to find all the hidden coins on Super Mario, I've have a secret love affair with Mario. And Luigi. I'll play any Mario game that comes along including Mario Galaxy 1 & 2. My current favorite is Mario Cart Wii. I play it all. the. time. Seriously, it's a sickness.
I'll tell you another secret. I love to search Etsy for Mario goodness. I really like to see what people, much more creative than me, have made and have for sale. I also like to check out Etsy for crochet patterns.
As a Mario fan I, of course, have my favorites. I love Yoshi. I think he's so cute and I love that he can eat his enemies. And fly! I also have favorite enemies and my very favorite enemy is Bob-omb. Maybe it's because my husband's name is Bob? I don't know. But I do love the little guys.
So imagine my great delight when searching Etsy the other day I came across a pattern to crochet Bob-omb. Of course I bought it immediately and had to make it this weekend.
 |
| Pattern created by Handy Turtle. |
I think he came out great! I can't wait to put him on my desk at work. What do you think?
Wednesday, July 13, 2011
Granny Square Cookies - Sugar and Meringue

So, who’s gonna bake them for me?
You’ll need the tutorial: Granny Square Cookies - Sugar and Meringue
Wednesday, July 6, 2011
Sewing 101 - The Cafe Curtain
Of course I took sewing in school. We all did. For 4 weeks. We made a sack with a draw string and felt very proud of our accomplishment. School is where I first learned to thread a machine and do a straight stitch. Mom is the one who taught me how to read a pattern, how to transfer it to fabric, tricks for cutting it out, how to piece my item together and, generally, how to sew. Because of my Mom I can fit a sleeve into a shoulder, make a gather and stitch a pleat. If I forget what I'm doing, Mom is the person who talks me through it or stands over my shoulder while I run the machine.
My Mom taught me a number of tricks and because of her, I take no short cuts when I sew. She is the sewing equivalent of the handyman saying "Measure twice, cut once." Mom always said that if you take your time, and if you're patient, you can make anything.
Before we sew a purse lining, we're going to take this back to basics and make a curtain. No lining, no tabs. Just a simple rod-pocket cafe curtain. Before we get started with the tutorial, there are a few things you need to gather. Assuming you have a sewing machine (and it's accessories: needle, bobbins, etc), fabric, and thread I also recommend you make sure you have: measuring tape, lots of pins, ironing board and iron. If you think you can skip the pinning and/or ironing I would caution you to re-think your plan. My Mom has always said that the most important tools in sewing are: pins, an iron, and patience. She is so right.
Let's get started
The first thing you want to do is iron your fabric. You don't have to do this on the wrong side, but I tend to do that. This way if you have a dodgy iron, it won't leave any marks on the nice side of your fabric.

Measure & cut
Next you want to measure the length of your curtain.

Depending on what you're making, you may decide to cut your fabric panel in half to make two curtains, which is what I did for my kitchen curtain.

Making a nice edge and bottom hem
Now we're going to finish the edges to make them neat & pretty. First fold over one unfinished edge and iron the edge down nice & flat.
 |
| See those color dots? Those were the ones I referred to above. These will be on the "right" side of your fabric. They're also a great reference if you are matching paint to your fabric. You'll find a dot for every color in the fabric. Fantastic! |
 |
| Pinking shears! |
Since I used pinking shears, I turned the fabric once to create a nice sharp edge and ironed to make a straight edge.
The next thing you want to do is pin the sides.
 |
| Do you see all those lovely pins? Told you I would use a lot. |
After you get the sides ironed down & pinned, you're ready to pin the bottom hem.

Time to sew!
Note you'll have three sides ironed and pinned for sewing. We'll do the top hem and rod pocket after we sew the sides and bottom.
Starting at the top of one side, sew a straight stitch down the length of the curtain.
 |
| Note this is not a fancy sewing machine. It's very basic and is really all you need for this type of sewing. |
Once you reach the end of the length, lift your foot (but keep the needle in the fabric) and turn the fabric 90 degrees to sew the bottom hem.

After you sew the bottom hem, once again turn the fabric 90 degrees to sew up the length of the other side of the curtain. Once that is done, you will have three neat edges -- two sides and a bottom.
Make a rod pocket
Now we're going to finish the top of the curtain and make a rod pocket. The first thing you want to do is measure the curtain length you need from the bottom of the curtain.

For my curtain, I need a length of 23 inches for the door opening and 1/2 inch for a small top gather. (If I was making a curtain for a window, I would add enough fabric to make a larger gather at the top -- usually 1 to 1.5 inches.)
I measured 23.5 inches & made my top fold at that length.

For some reason I'm missing the pictures for the next part of the process. Basically, what you're going to do is sew the top hem down, just like you did for the bottom. So you want a straight stitch across the lowest part of the fold to secure the hem. After this is completed, cut your threads and put your fabric back under the needle to make the rod pocket. Place your needle 1/2 inch from the top of the fold and make another straight stitch across the width of the fabric panel.
 |
| If you look at the top of the panel, you'll see the two straight stitches, which basically create a rod pocket. Sew the bottom one first and then the top one to create the gather at the top of the panel. |
Now for the fun part
Now your curtains are done you can hang them. I used a small sash rod, which allows the curtain to lay nice & close on the door opening.

Now that you've finished the cafe curtain tutorial, you have the skills to make a purse lining. I promise it's as simple as tracing, sewing a straight (or slightly curved) line and then fitting it in to the purse. The lining will require hand sewing. Please don't let that discourage you. I'm a terrible hand sewer but I'll show you a way to make stitches that are almost invisible and I promise, with practice, we'll both get better.
Hope you enjoy your new curtains!
Subscribe to:
Posts (Atom)